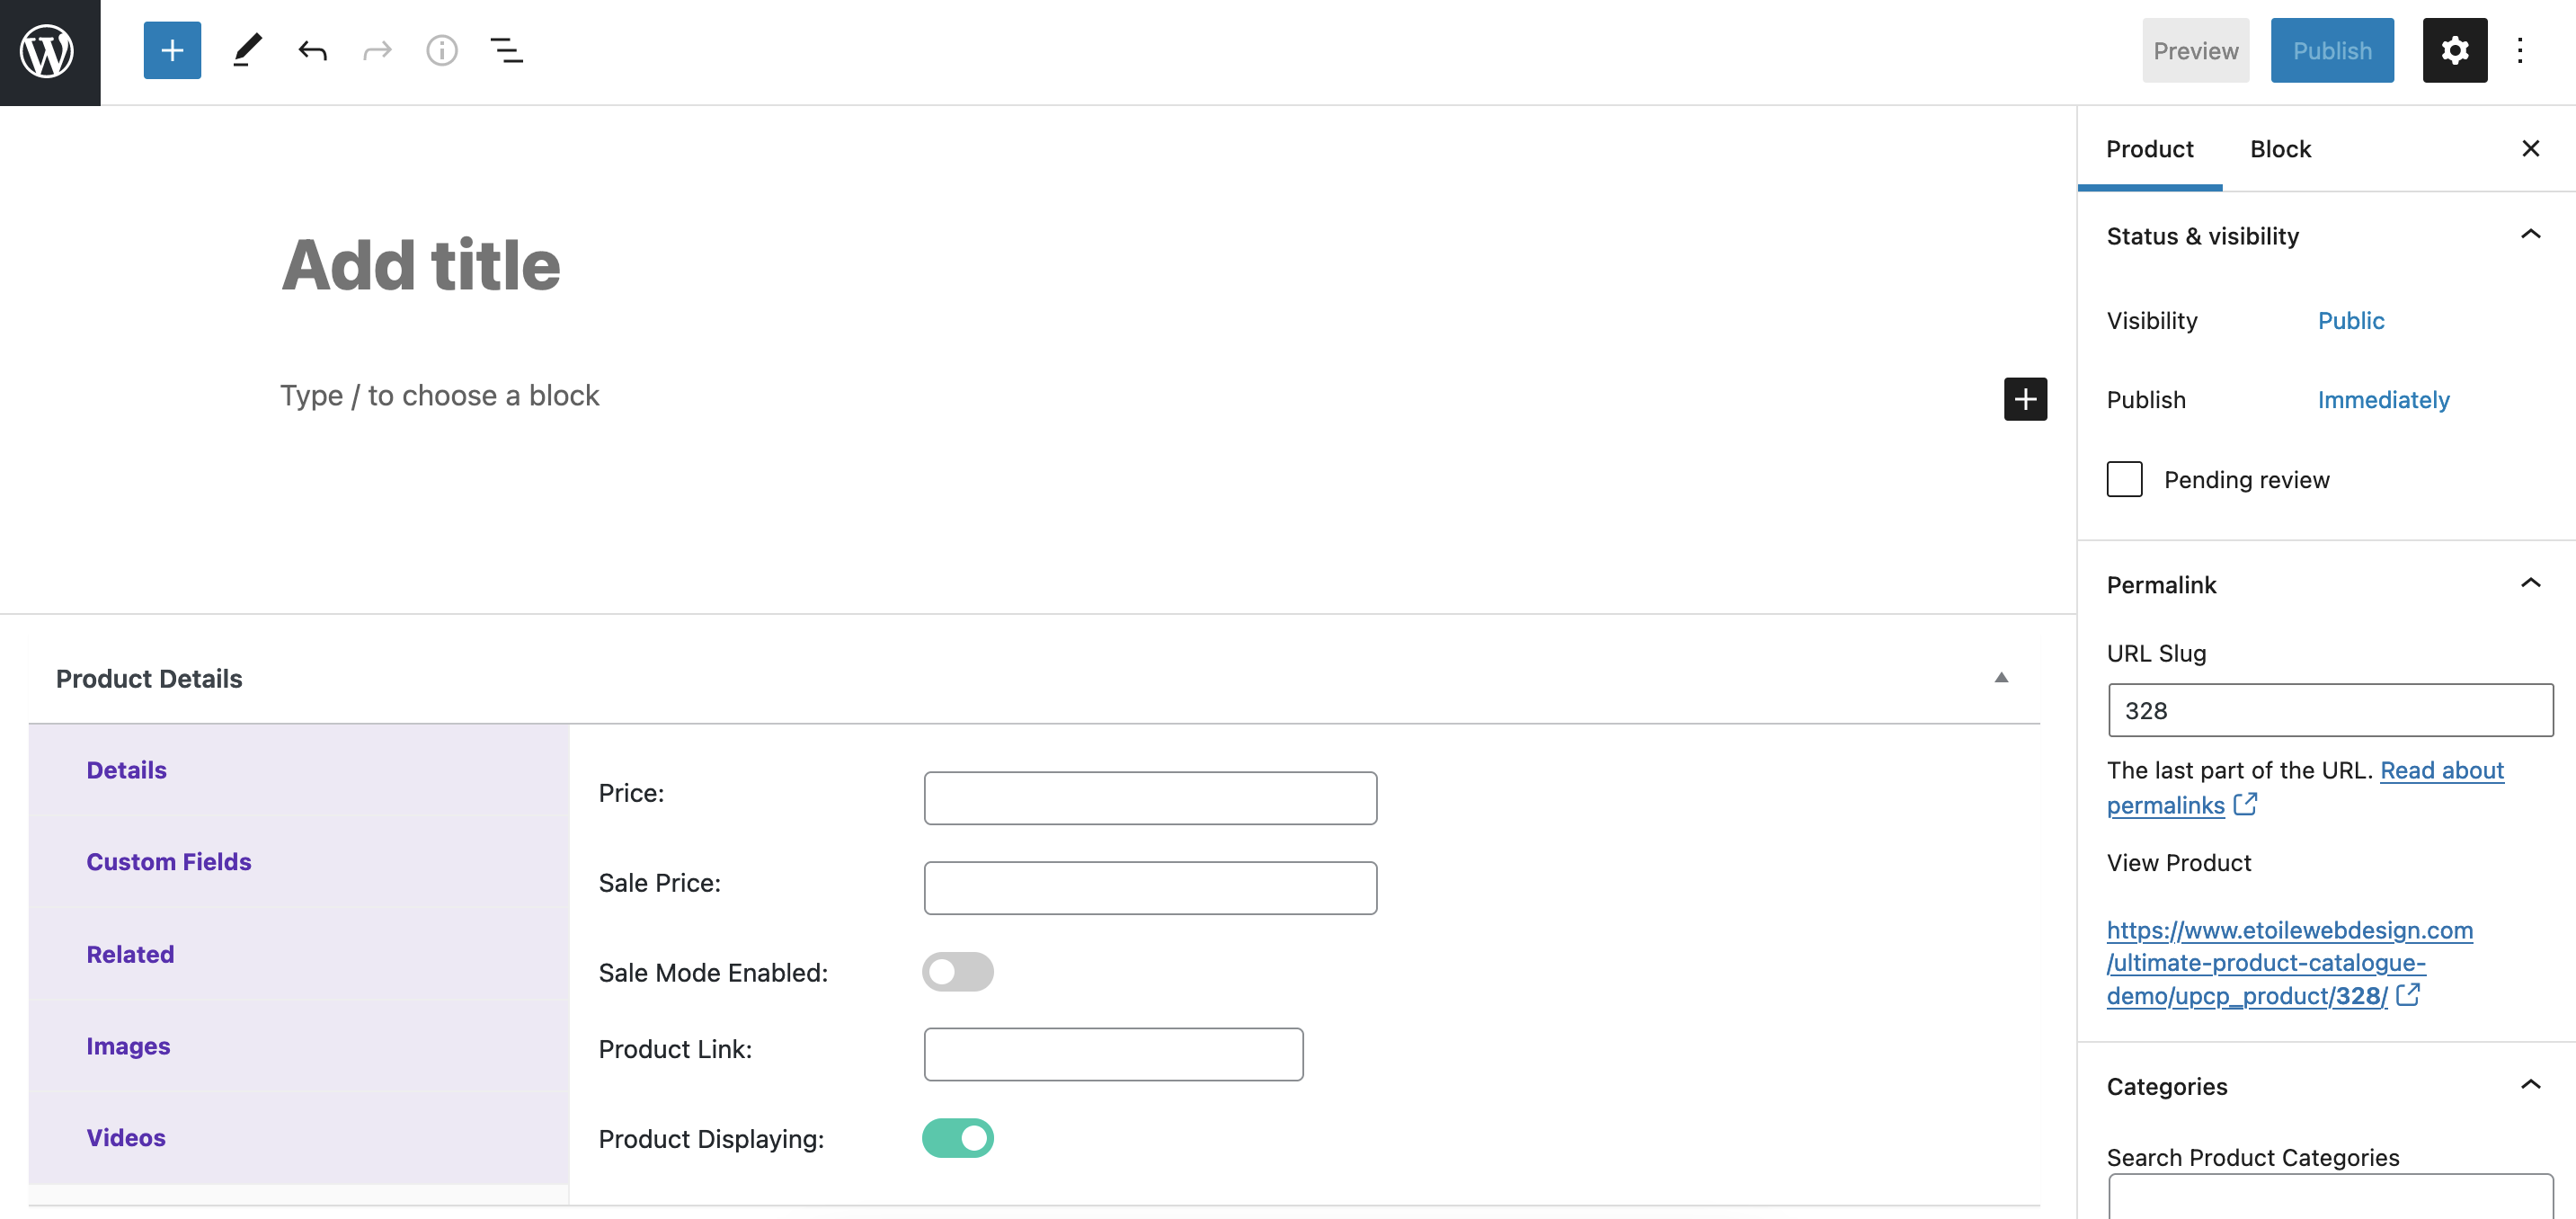
To create a new product in your WordPress admin, go to Product Catalog > Products > Add New. You’ll see the following page:

Start by giving the product a name and description. After this, you can use the Product Details section underneath to set the price for your product, as well as a sale price, if applicable.
The Product Link field lets you specify a URL that the visitor should be directed to when they click on the product in the catalog. This replaces the default product page.
On the right of the screen, you’ll see a number of panels for adding information to your product. Here you can do the following:
- Assign the product to one or more categories
- Addign the product one or more tags
- Set a featured image for the product. This will be the main product image.
Once you click the Publish button at the top, your product will be published. Now you’re ready to add it to a catalog.
Premium Features
If you have the premium version of the plugin, you will see several extra panels in the Product Details Section. These are:
- Custom Fields: Here you can assign values for any existing custom fields. Find out more about custom fields.
- Related: Here you can set which products to show as the related and/or next and previous products (if you have these set to manual in the settings).
- Images: Here you can add additional images for the product.
- Videos: Here you can add videos for the product. You just need to insert a YouTube URL for each video.
