When you first activate the plugin, it will automatically run a walk-through that will help you create your first FAQs, add them to a page and set a few key options.
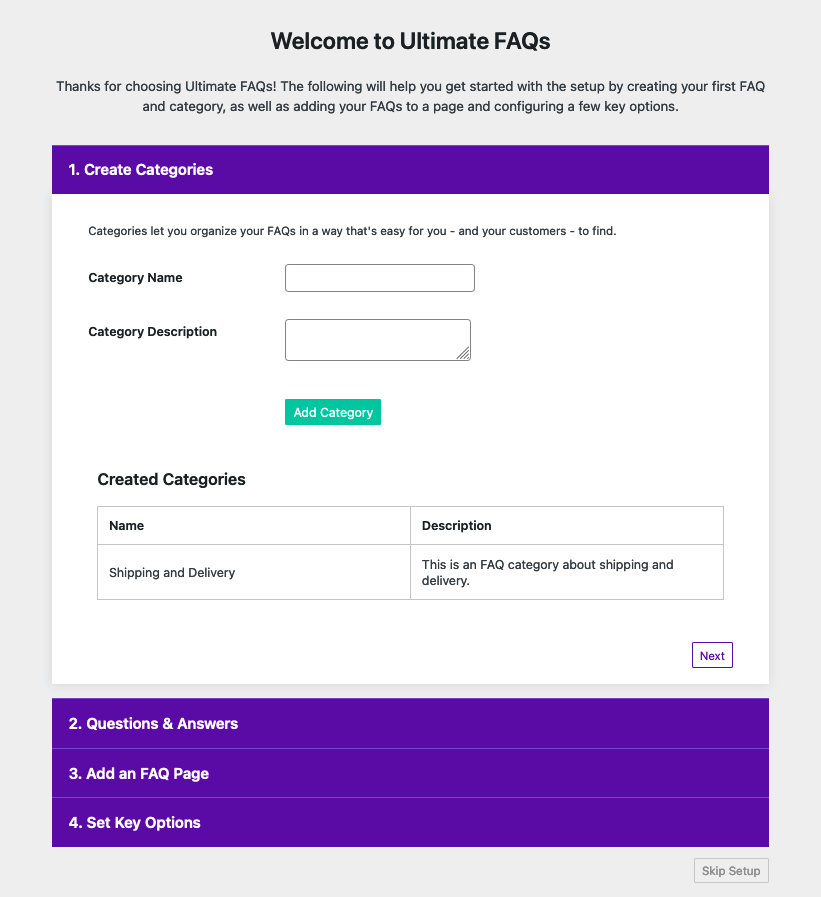
The walk-through consists of four steps.
-
Create Categories: This lets you create one or more categories, which you can then assign your FAQs to.
-
Questions & Answers: Here is where you create your FAQs. You can enter a question and answer, and assign each FAQ to a category. You can create as many FAQs as you want during the walk-through.
-
Add an FAQ Page: This will create a new page on your WordPress site and place your FAQs on it.
-
Set Key Options: Here you can configure a few of the main options in the plugin, such as whether or not to use the FAQ accordion and toggle features, whether or not to group FAQs by category, and how you want to order the FAQs.
If you’d like, you can re-run the walk-through at any time by going to the following URL in your WordPress admin:
admin.php?page=ewd-ufaq-getting-started
So, if, for example, your site domain is:
https://www.my-site.com/
Then, to restart the walk-through, you would go to:
https://www.my-site.com/admin.php?page=ewd-ufaq-getting-started
You’re now ready to learn more about FAQs and the available blocks and shortcodes.