To create or edit statuses, which you can then assign to orders, go to the Statuses area of the Settings page. Here you will see a table with all your existing statuses as well as a button to add a new one.
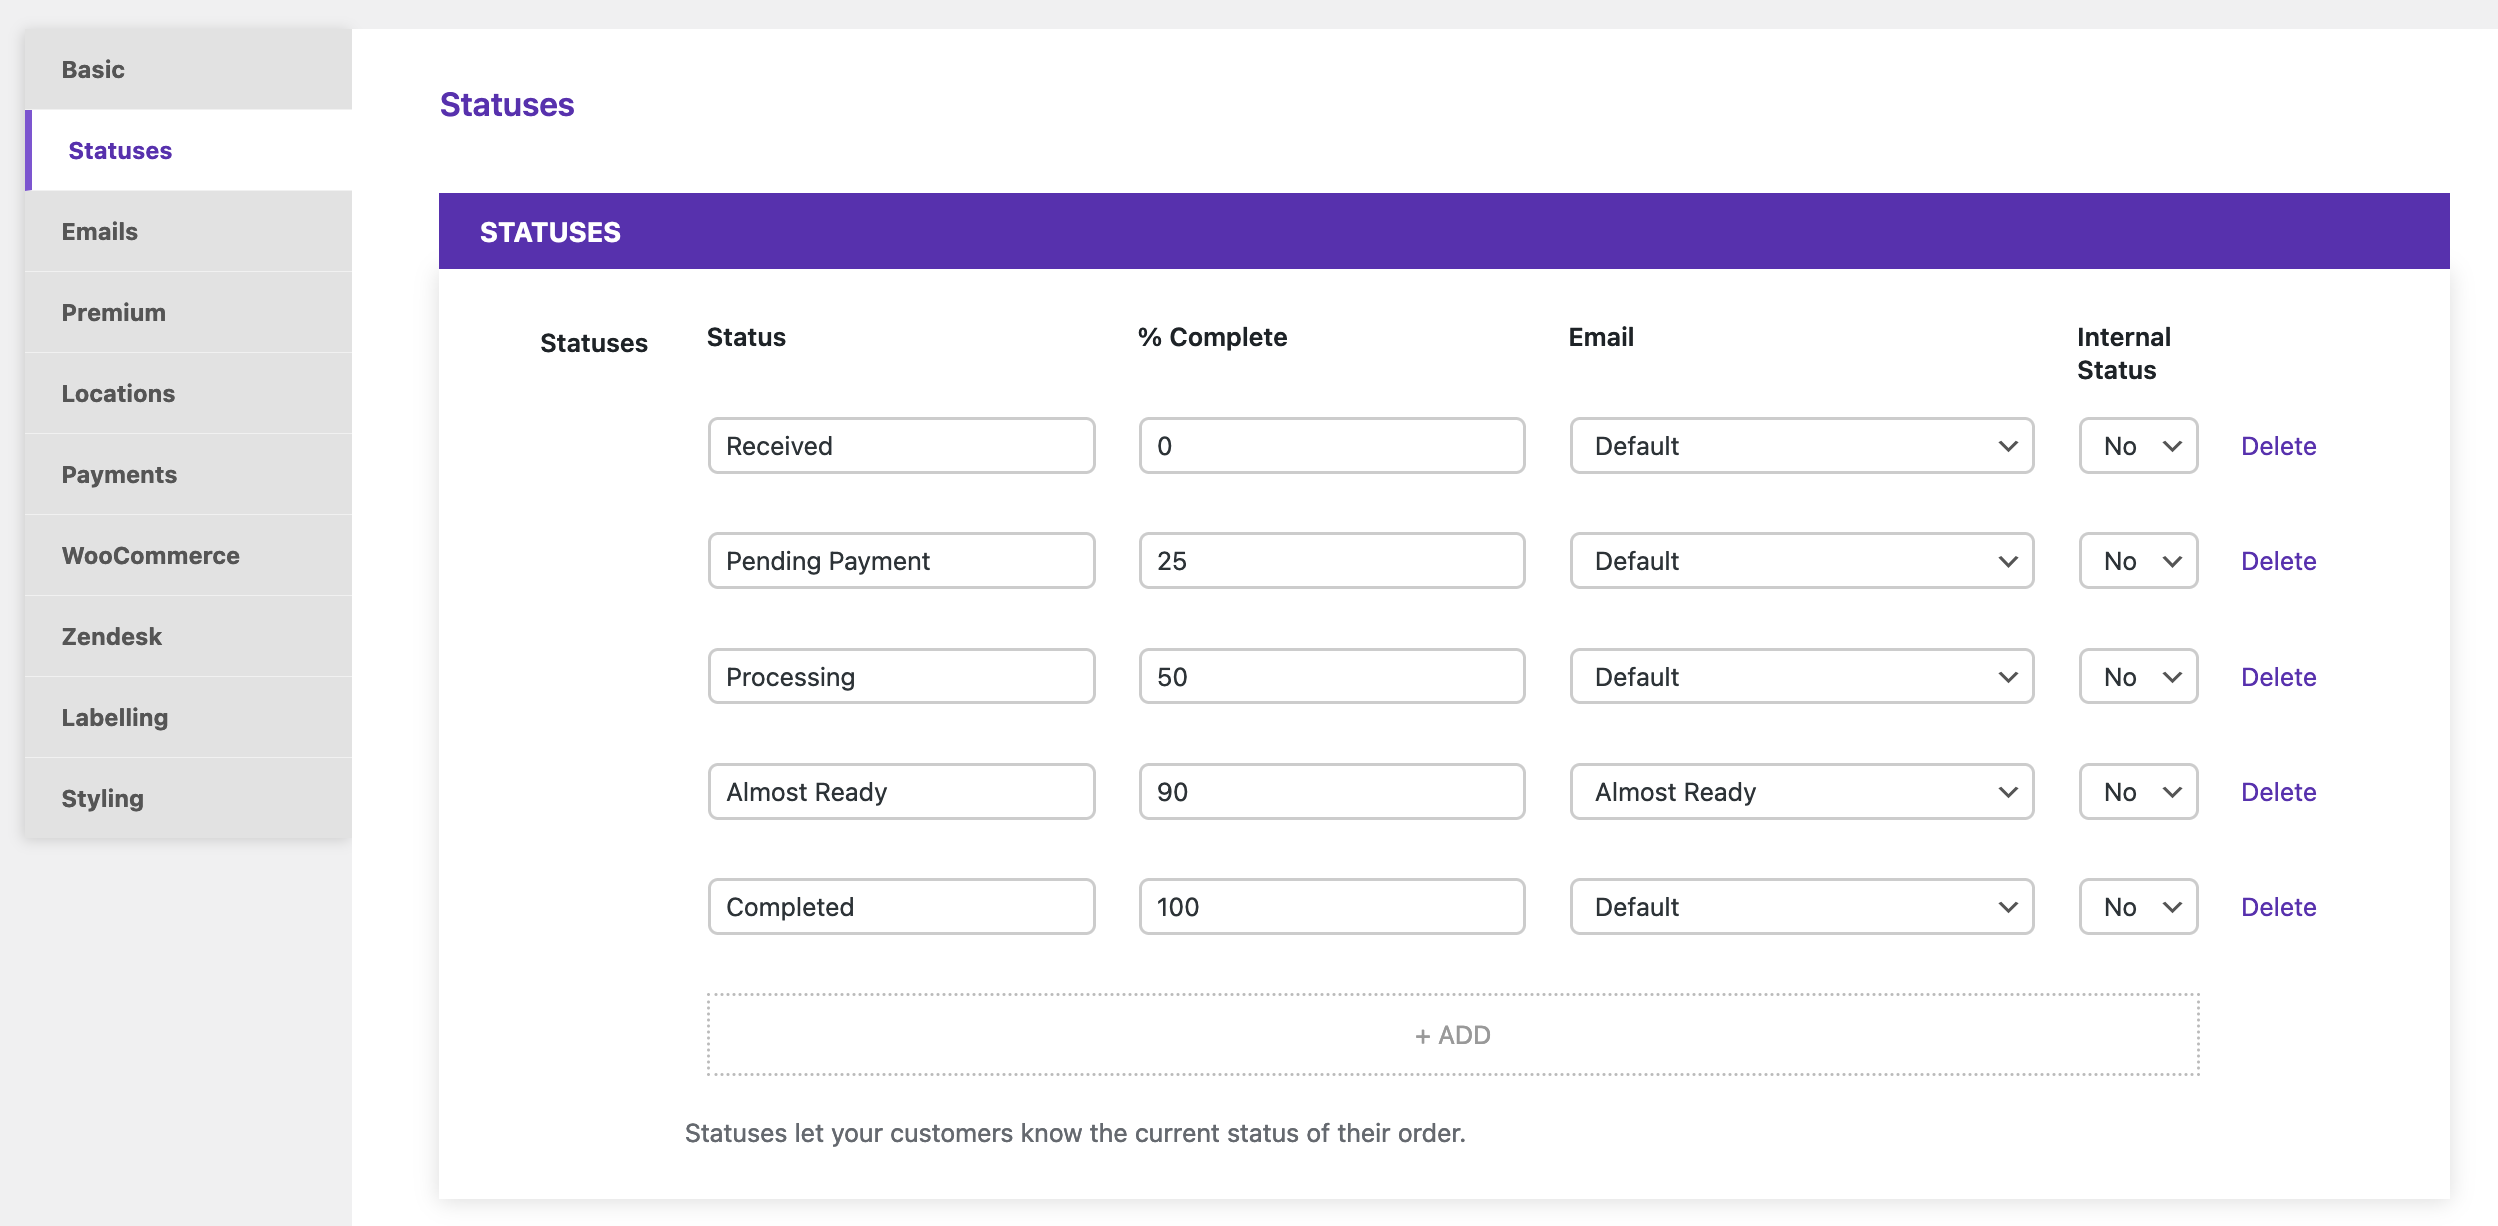
The process is the same to add or edit a status. You need to fill in the following for each:
- Status: The name you want to give to your status.
- % Complete: Set, in percent, how far along the order is when set to this status. This decides how full the tracking graphic appears on the front end. Please make sure that you have both a 0% status and a 100% status, and that you do not have multiple statuses with the same percentage.
- Email: Which email should be sent out when an order is changed to this status. Can be an email created in this plugin or from the Ultimate WP Mail plugin. For more info about emails in the Order Tracking plugin, please see here.
- Internal Status: If this is set to Yes, then the customer will not receive notification if their order is set to this status.
When you’re done creating/editing your statuses, make sure to click the Save Changes button to save your changes.
To set the status for an order, go to the order edit screen and use the Status dropdown to select which you want. For more info, see here.