To create or edit an email, go to the Notifications area of the Settings page. Here you will see a table with all your existing emails as well as a button to add a new one. The plugin comes with a few default emails, which you can modify to your liking, use as-is or remove.
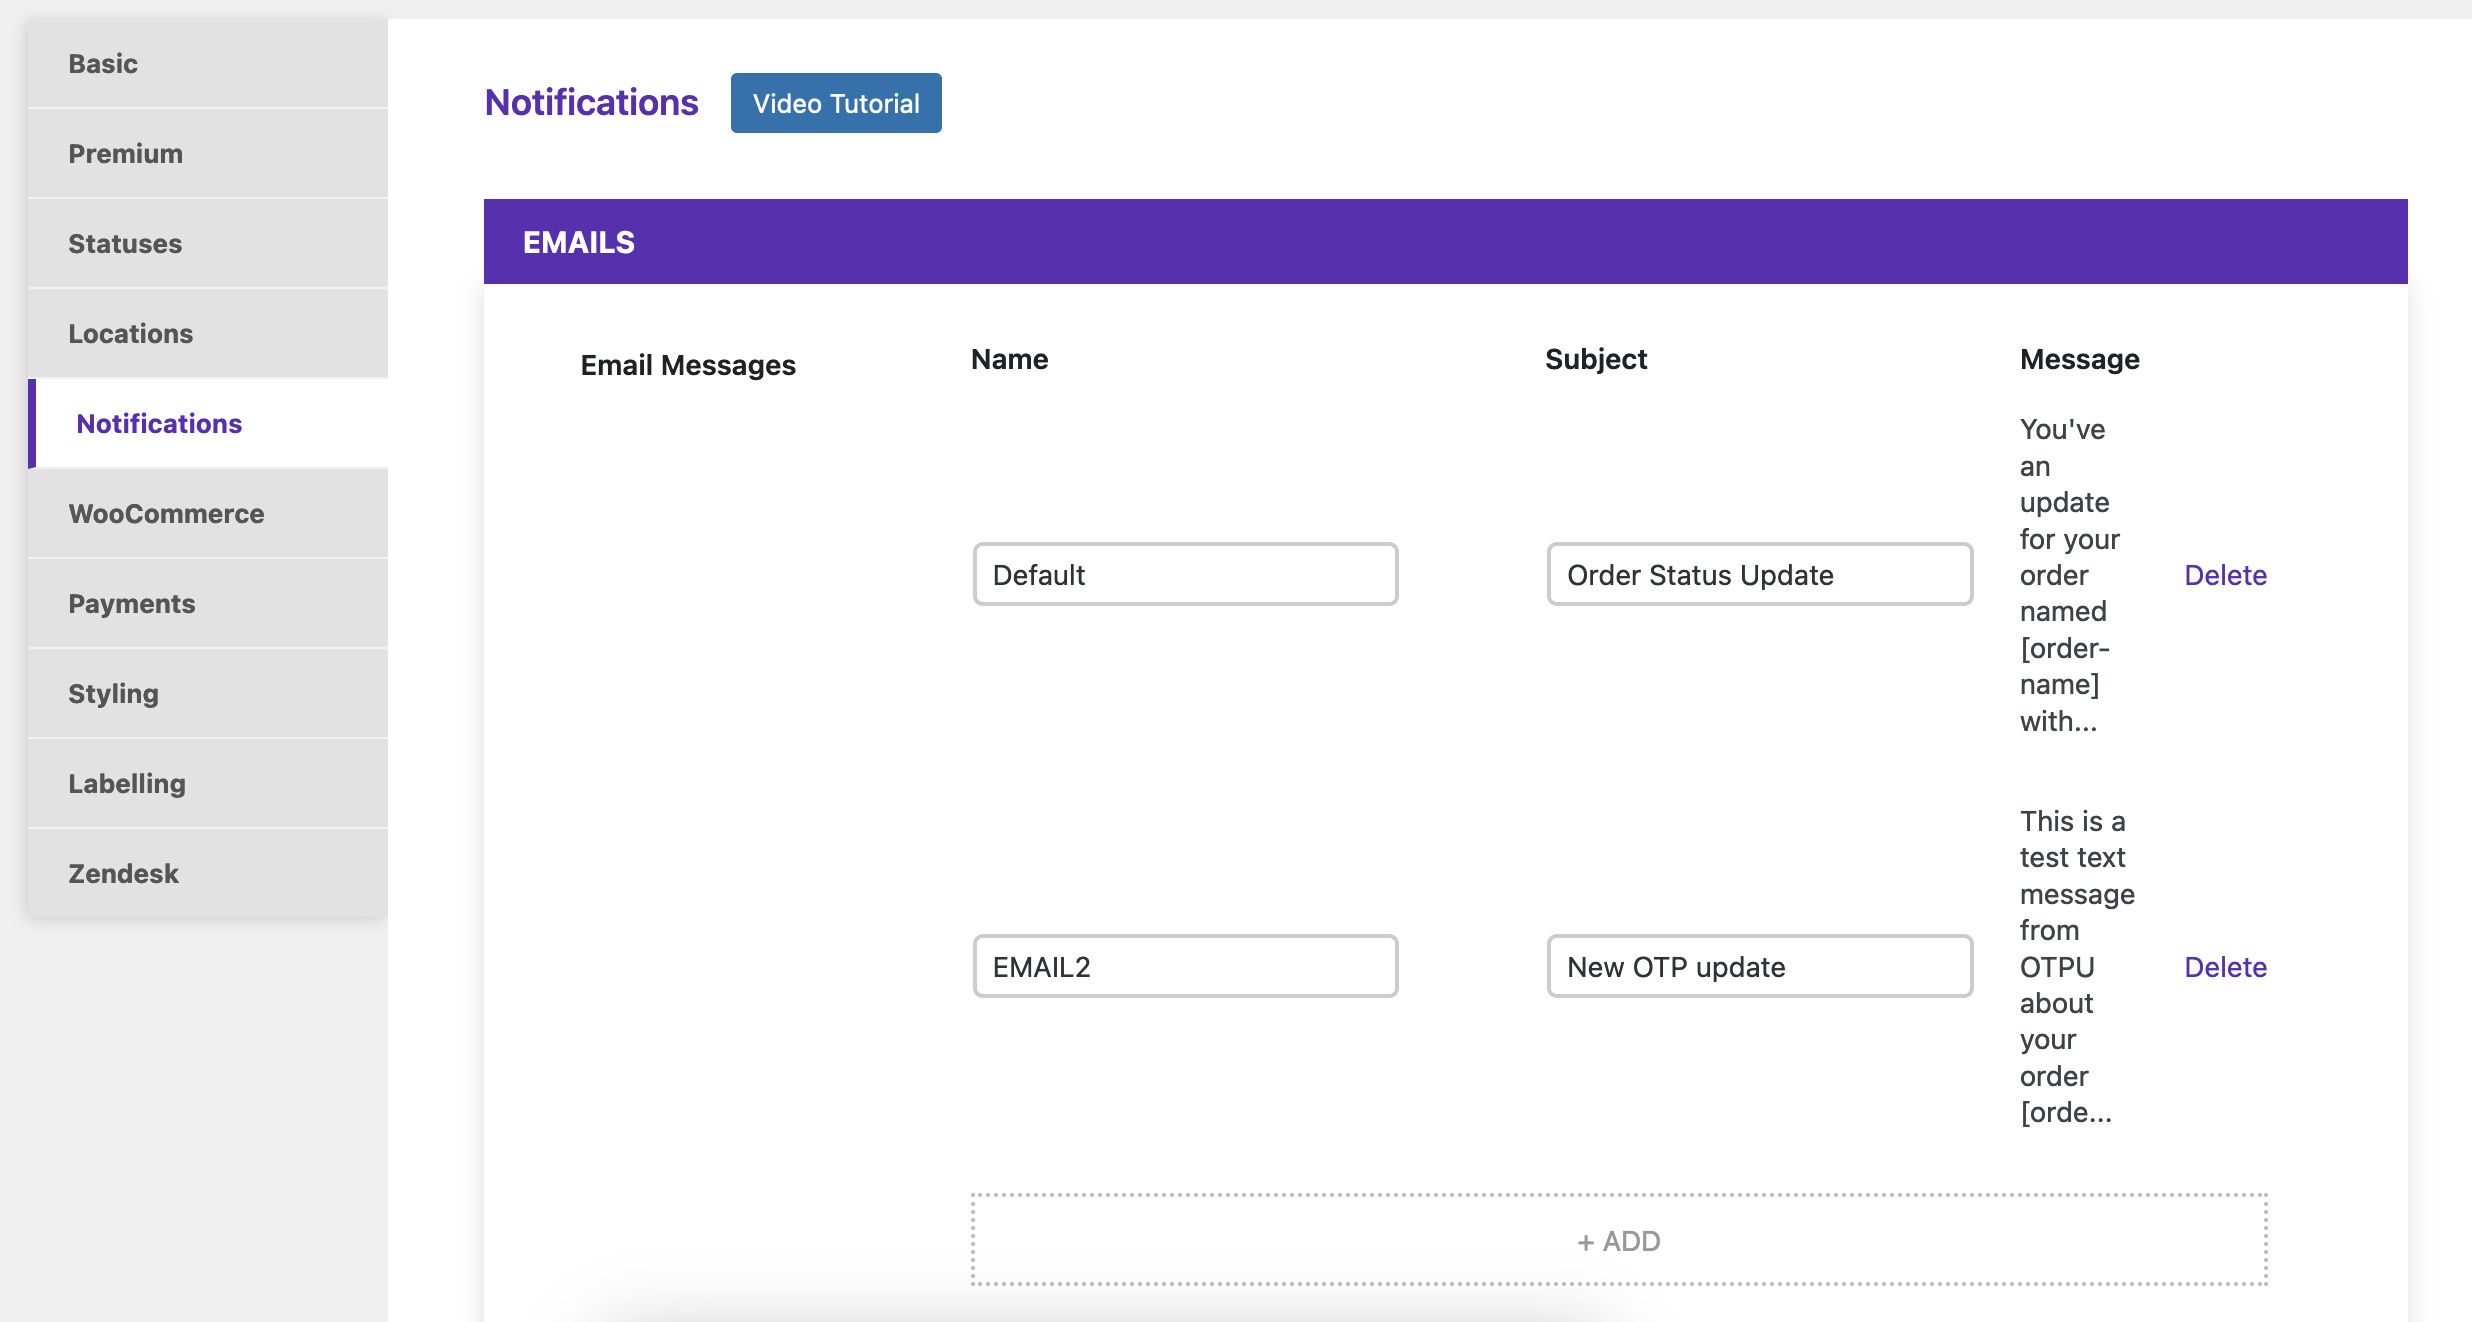
The process is the same to add or modify an email. You need to fill in the following for each:
- Name: The name you want to give to your email. This is used for you to identify the email when choosing which one you want to assign to a status or other notification.
- Subject: The subject of the email that will be sent.
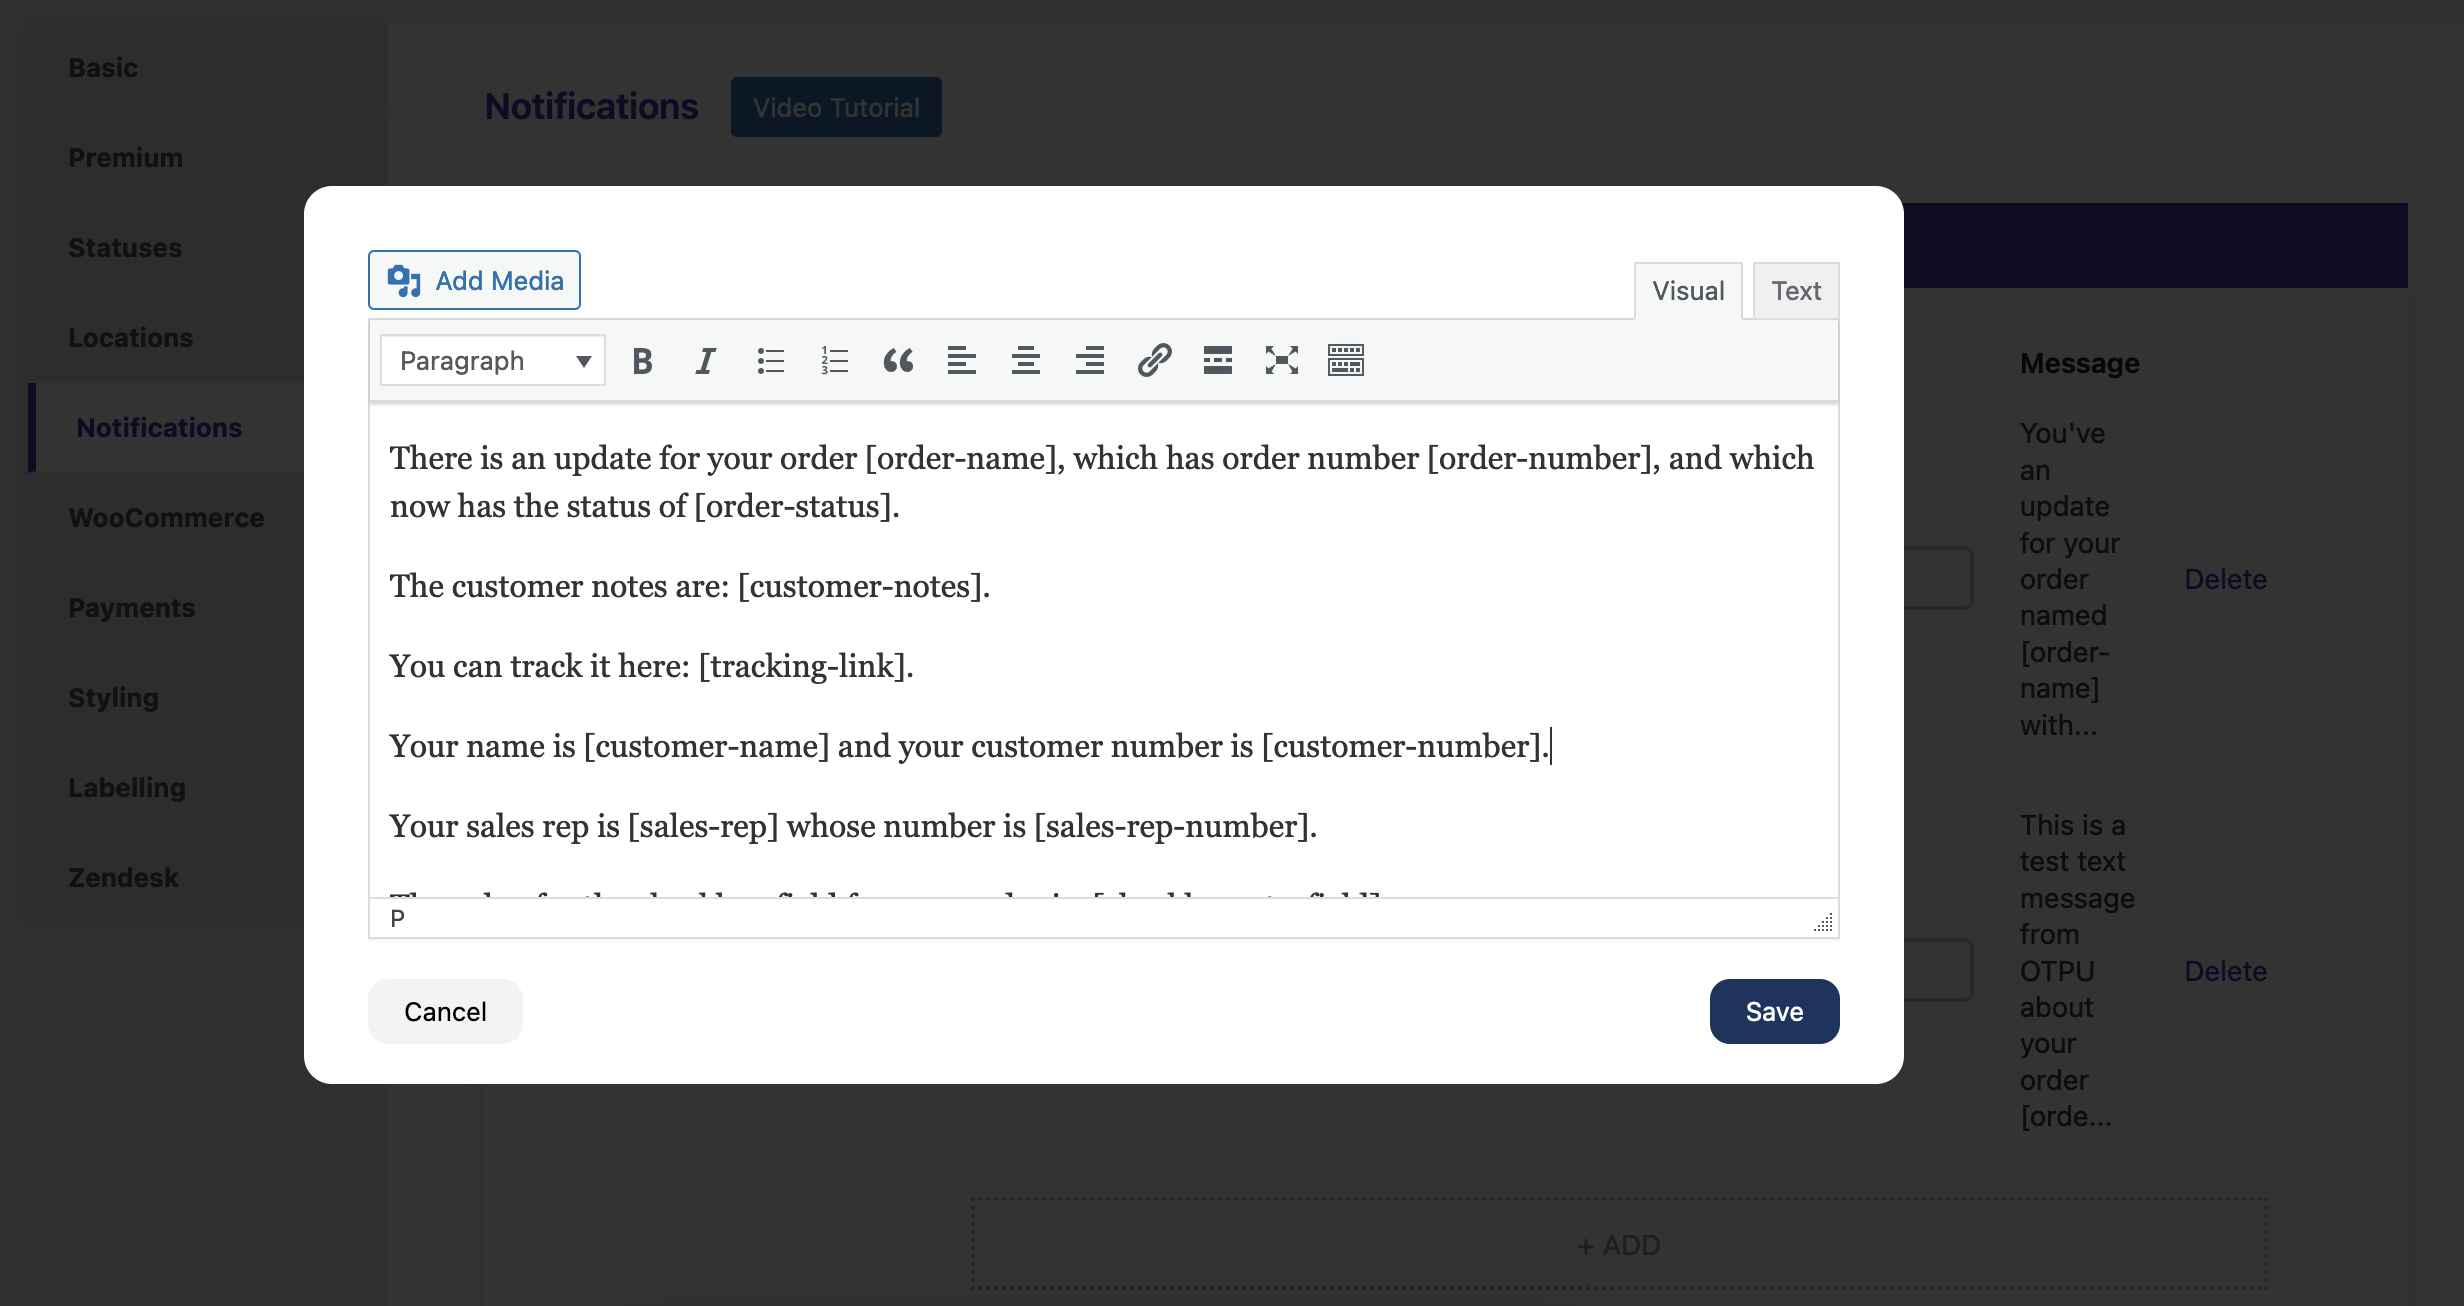
- Message: The message or content of the email that will be sent.
Order-Specific Information
You can include order-specific information in the email message by making use of one of the following shortcodes:
[order-name] The name of the order.
[order-number] The order number.
[order-status] The order status.
[order-notes] The public notes for the order.
[customer-notes] The customer notes for the order.
[order-time] The time the order was created.
[tracking-link] The URL of the tracking page for the order.
[customer-name] The name of the assigned customer for the order.
[customer-id] The ID of the assigned customer for the order.
[sales-rep] The assigned sales rep for the order.
[custom-field] You can also include a custom field value in the email by placing the slug of the custom field within the square brackets. For example, if the slug of your custom field is order-quantity, then you would use [order-quantity]
When you’re done creating/editing your emails, make sure to click the Save Changes button to save your changes.